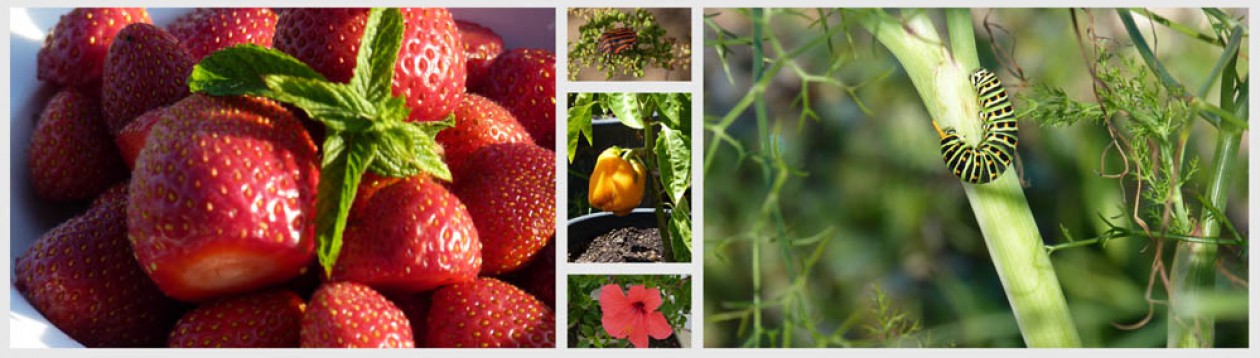
Hibiscus are my favourite plants (shrubs) because they are SO easy to grow and reward me with an abundance of beautiful flowers throughout the year.

I began experimenting as to the best method of propagating hibiscus from cuttings a couple of years ago when the cost of buying plants in Portugal rose significantly. I’m talking about a 100% rise, so a great incentive to master the technique!
There are several different methods used to propagate shrubby plants, but this one consistently works for me.
How to to propagate Hibiscus
1. Take green cuttings (new growth) of about six inches long from the parent plant and remove all but a couple of the smaller leaves.
2. Immerse cutting into the hormone powder or gel so once planted the “treated” area is higher than the planting depth. There should be at least one growth node under the soil.

3. Fill suitable plastic plant pot with damp sandy soil and press down firmly.
4. Make small hole for each cutting – about a couple of inches deep (I use a small stick). Insert the cutting so at least one of the nodes are under the soil. Firm the soil around the cutting.

5. Create a humid environment for the cuttings by adding a plastic cover. Some people use a plastic bag – I use half a plastic bottle.
6. Stand the pot in a tray of water so the soil remains damp, but be careful not too wet. If the soil should become waterlogged I remove from pot from water tray to restore the balance. I usually only follow this process for about a six weeks. If the cuttings are “happy” in the environment you have created the leaves on the hibiscus cutting should still look green and healthy. If the rooting process is not working and the leaves are brown and shrivelled, discard and start the process again.
7. Move pot to a sheltered location out of direct sunlight. I find dappled shade is best.
8. Once the cuttings are established and new leaves begin to grow I remove the plastic cover so the young plants adapt.
9. After about a six months, sometimes more, depending on how quickly the cuttings grow, repot cuttings to individual pots using good quality compost and you will have several young plants ready to pot on.

10. Hey presto! This healthy plant is just one of three I grew using the above method.
I grow my mature hibiscus plants in containers close to the house to shelter them from the destructive salt winds. This was originally a temporary measure to protect them while hardier plants and shrubs matured. However, I have been so pleased with the results the hibiscus have remained in the original containers where they were planted six years ago. Hibiscus are normally planted in the ground here, and the shrubs easily grow to over six feet tall.
Their versatility has surprised me as they grow well in either sun or shade. And, providing you keep them well watered, fed and pruned they are very easy to grow – certainly far easier than vegetables!

I love hibiscus. They’re annuals in my region. We used to buy them every Spring but they got way too expensive so we stopped. I didn’t know they could be started by rooting. I may buy one next Spring and try your method to plant more. You’re so clever. Thanks so much, this is a very welcomed and useful idea. 🙂
Hi EC, you may be able to overwinter them indoors. Our temps here are just on freezing at night. You could certainly try rooting on a sunny winter windowledge 🙂
I may try that next year. I sure do like them. Thanks for the helpful advice and suggestions. I love your garden blog. It’s a joy to visit. 🙂
Am pretty ‘potty’ about all kinds of hibiscus, probably because they remind me of favourite places like Hawaii and Fiji. Live in a borderline hibiscus area here, with winter just a tad too cold. But some neighbours seem to have been successful, so, learning from you may just go for a little spring walk with a pair of secateurs in hand 🙂 !
Hey Eha, you may be lucky if you overwinter your cuttings indoors. Our temps go down to just on freezing at night…Iovften go for a walk with a pair of secateurs and I’ve goiven so many cuttings away to good homes as well!
I haven’t been at all successful with hibiscus, perhaps my soil has too much clay, well terracotta really, but I’m going to try this method and if successful I keep them in their pots. Thank PiP for the tip
Ola GertyG, fingers crossed! You can but try! 2of my hibiscus are in concrete pots the others are in plastic pots.
Here in this part of India, I have not been successful in maintaining this plant. We have excessive heat and sometimes continuous rain, with aphids or mealy bugs eating the plant away!
Thanks for the nice tips. Will try to grow some this year.
Hi and welcome! Have you tried growing them in the shade?
Curses to aphids and mealy bug. Just discovered something similar munching on my rhubarb.
hai
Nice to read your tips I too love hibiscus.I have quite a few plants that have survived well some of them get bugs and a white milly bug and the plant dies.Pl advice what to do .